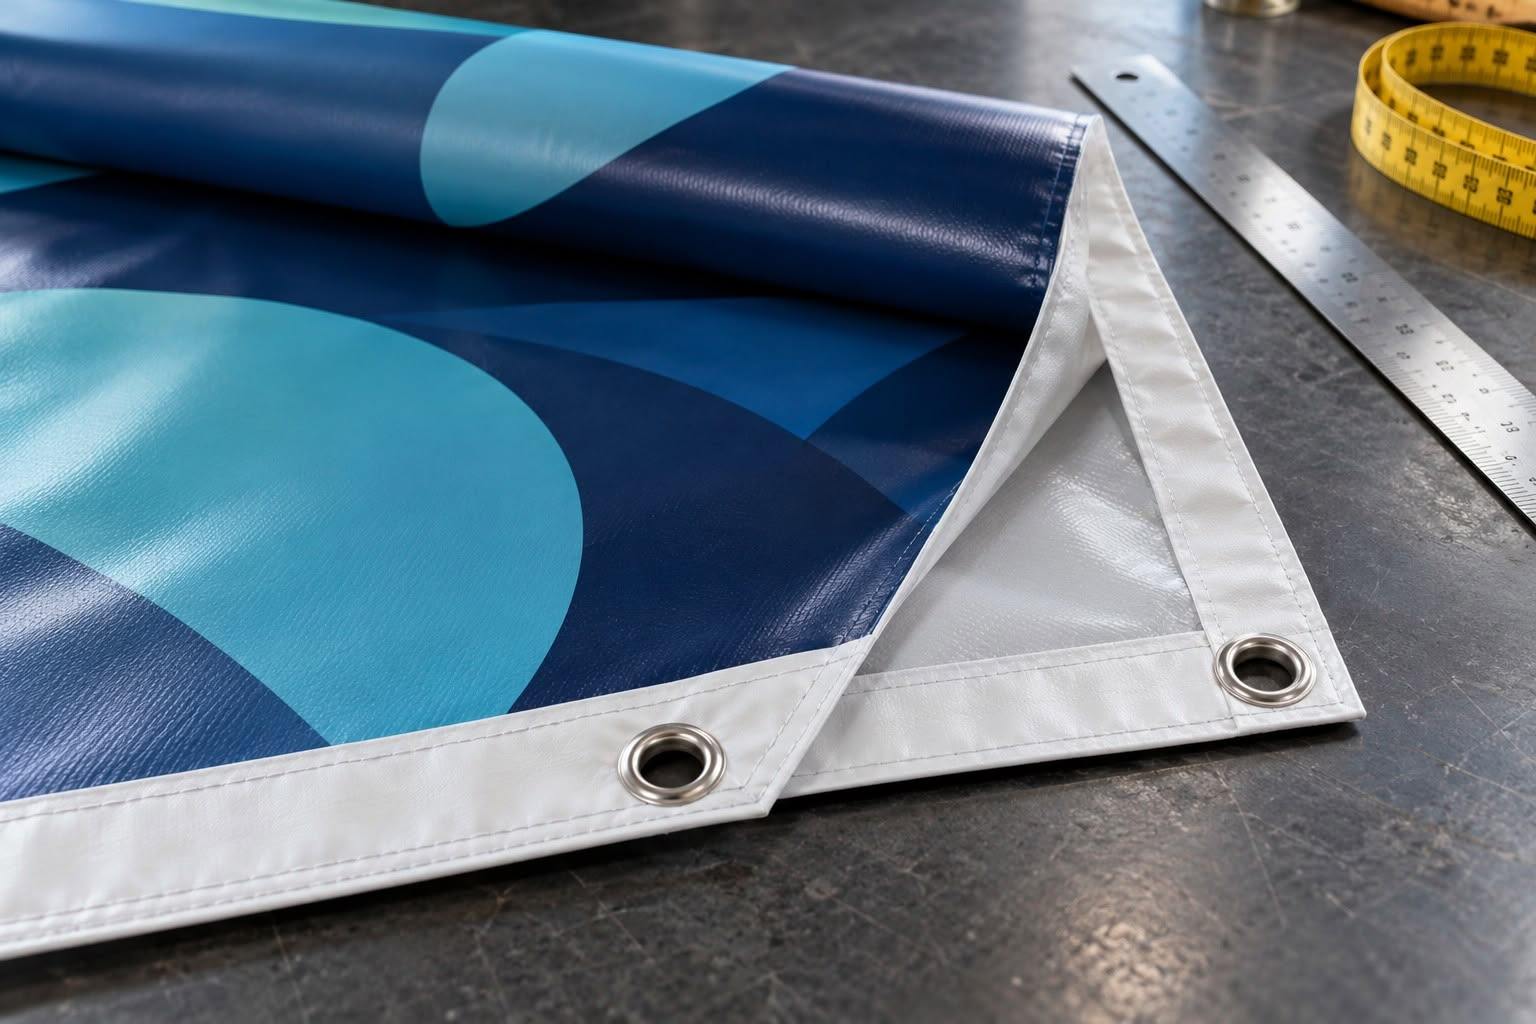
Featured image: AI-generated illustrative scene, not an actual customer job or product test.
A banner proof can show the correct spelling and still leave the finishing operator without the information needed to build the job. Finished dimensions, folded edges, grommet locations and pole pockets affect what the customer sees and how the banner fits its mounting system.
The solution is a finishing proof that travels with the artwork. It can be simple: a dimensioned view, a small edge detail and a written production specification. This article explains how to build that handoff. It is not an installation-engineering guide or a wind-load rating for any banner construction.
Start with the finished size
Ask what the requested measurement describes. A customer’s “eight-foot banner” may mean the visible face, the distance between supports or the total material before finishing. Those are different instructions. Record finished width and height separately from the supplied artwork dimensions and the shop’s material allowance.
Use one unit system throughout the proof, or explicitly label every conversion. If artwork is supplied at reduced scale, put the scale next to the dimension callout and write down the required full-size output. A small note buried in an email is easy to miss after the file is handed to production.
For a hypothetical 96-by-36-inch finished banner, do not automatically add an arbitrary inch to every edge. Ask the finishing department or outsourced supplier how its chosen hem or pocket changes the required file and cut dimensions. Some production workflows account for the allowance inside the template; others require additional material beyond the finished face.
Separate the cut, fold and safe areas
A useful proof distinguishes three boundaries: where material is cut, where an edge folds or a pocket begins, and where important artwork should remain. Show those boundaries in the finishing document, using labels as well as color so a grayscale printout remains understandable.
The safe area is a design decision informed by the real construction. Keep a phone number, short URL or important logo clear of hardware, seams and folds. Let noncritical background artwork extend as required by the production template. Do not move the entire design inward until it looks timid; move the information that would become unusable if it were punched, folded or obscured.
Specify the attachment pattern instead of assuming it
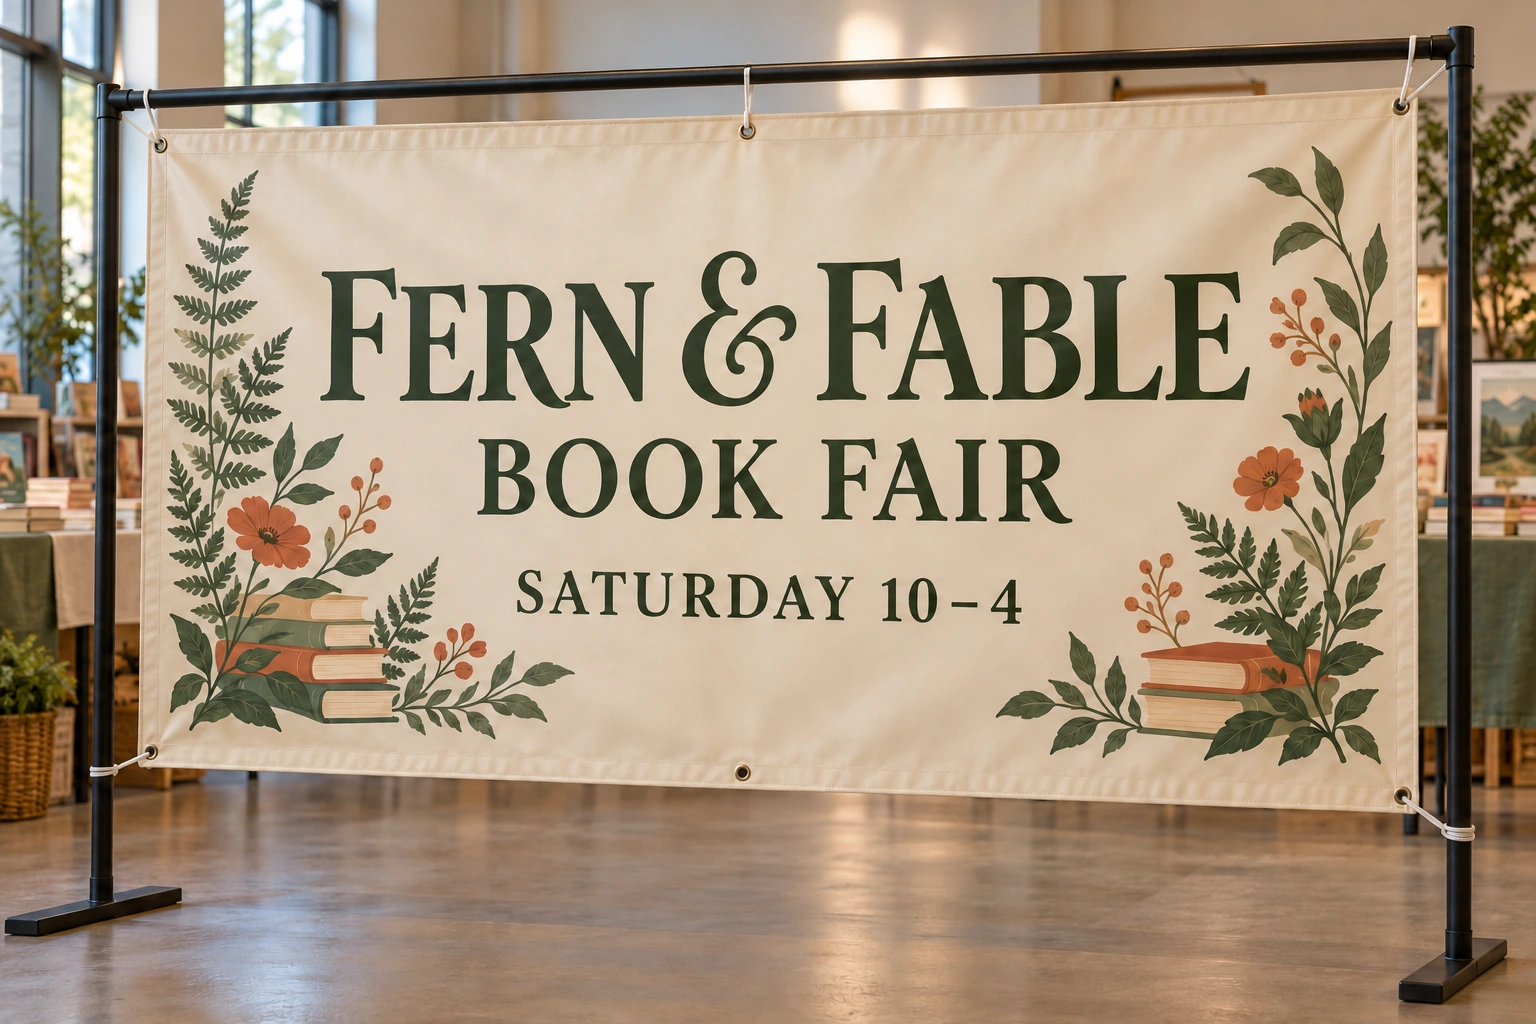
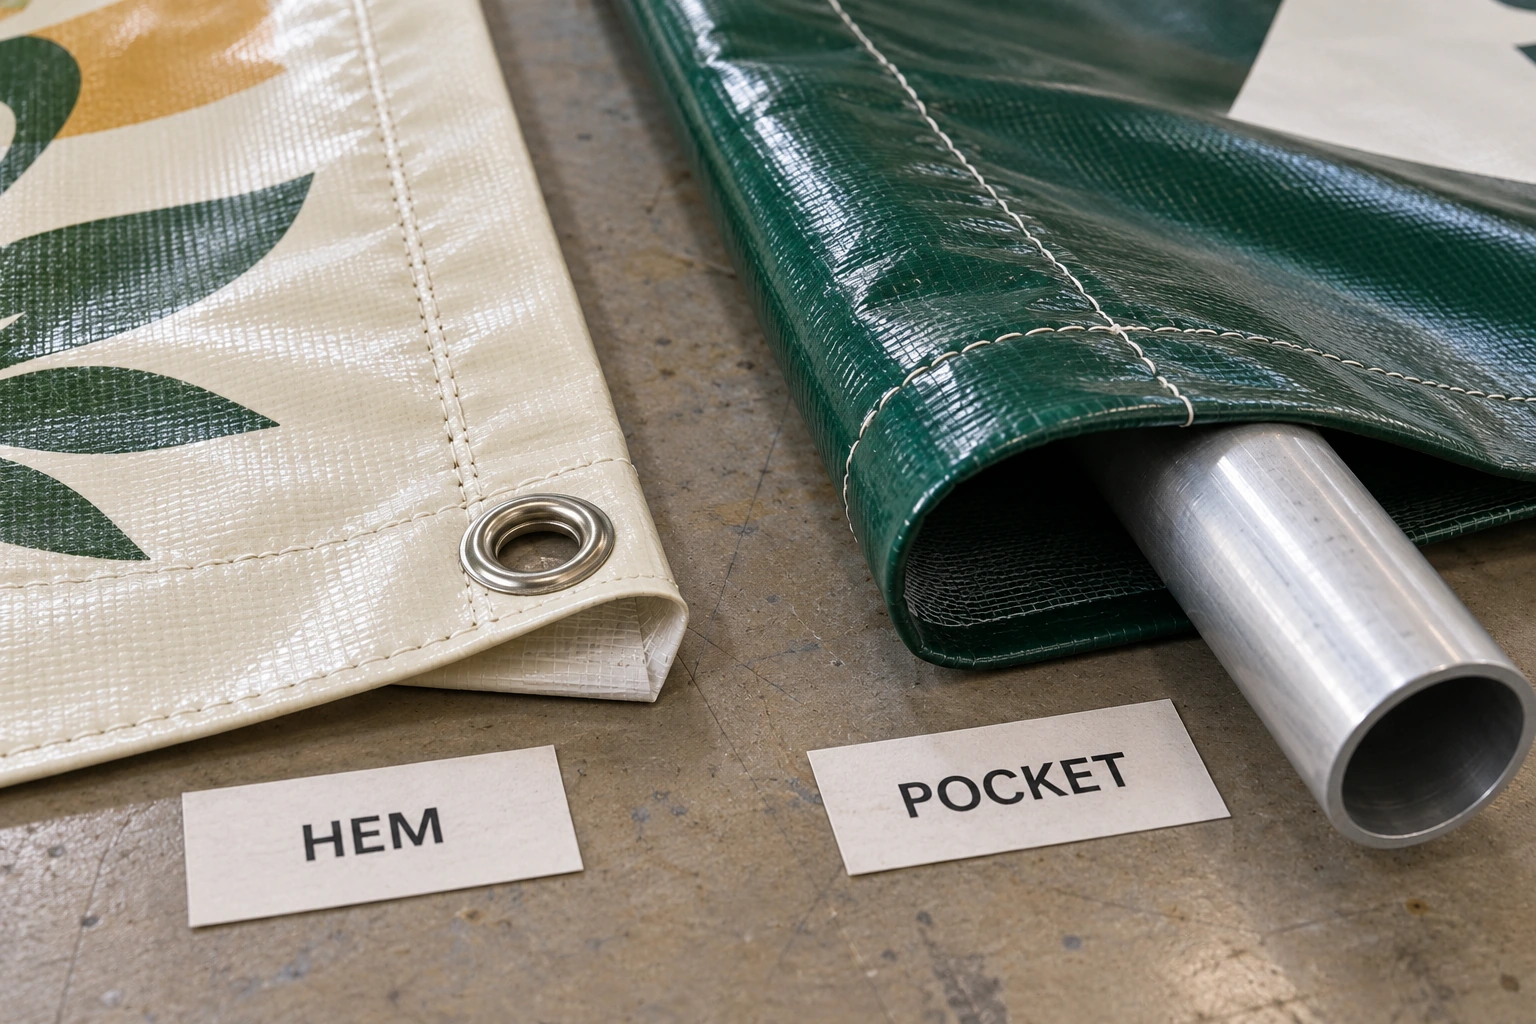
“With grommets” leaves several unanswered questions. Which edges need them? Are the corners included? Where do the centers go relative to the finished edge? Does the client’s existing frame have fixed attachment points? Does the selected substrate and reinforcement system support the planned use?
Manufacturer and printer guidance illustrates why a single universal pattern is unhelpful. Banner Ups describes reinforced holes and its own adhesive-tab approach; Banners.com describes finishing options for its own products. These are different systems. Use the relevant supplier’s specification rather than mixing a spacing recommendation from one source with the construction from another.
For a fixed frame, label the required centers from a defined reference edge and confirm the frame measurements before production. For a banner with a supplier-selected standard pattern, identify that exact pattern on the order. Give the finishing operator a marked map or an unambiguous written sequence, not a visual guess based on the artwork.
Mounting hardware and attachment points need to suit the installation. Do not infer a whole-installation wind rating from a material specification or a supplier’s isolated product test. Exposed, elevated or otherwise consequential installations need an appropriate installer and any required site-specific engineering or approvals.
Pole pockets need a separate detail
A pole pocket is not just a wider hem. The pole must fit the finished opening, the pocket must be oriented correctly, and the visible artwork must account for the resulting fold. Request the actual pole dimensions and the supplier’s required pocket specification rather than asking the designer to guess from a photograph.
State whether the pocket is at the top, bottom or both, whether its ends stay open, which side carries the visible face, and how the finished size is measured. Ask the finisher to confirm the required internal opening or lay-flat dimension and the material allowance. These terms are easy to confuse, especially when the customer quotes a pole diameter while the supplier asks for a flat pocket width.
Make customer approval and production approval readable
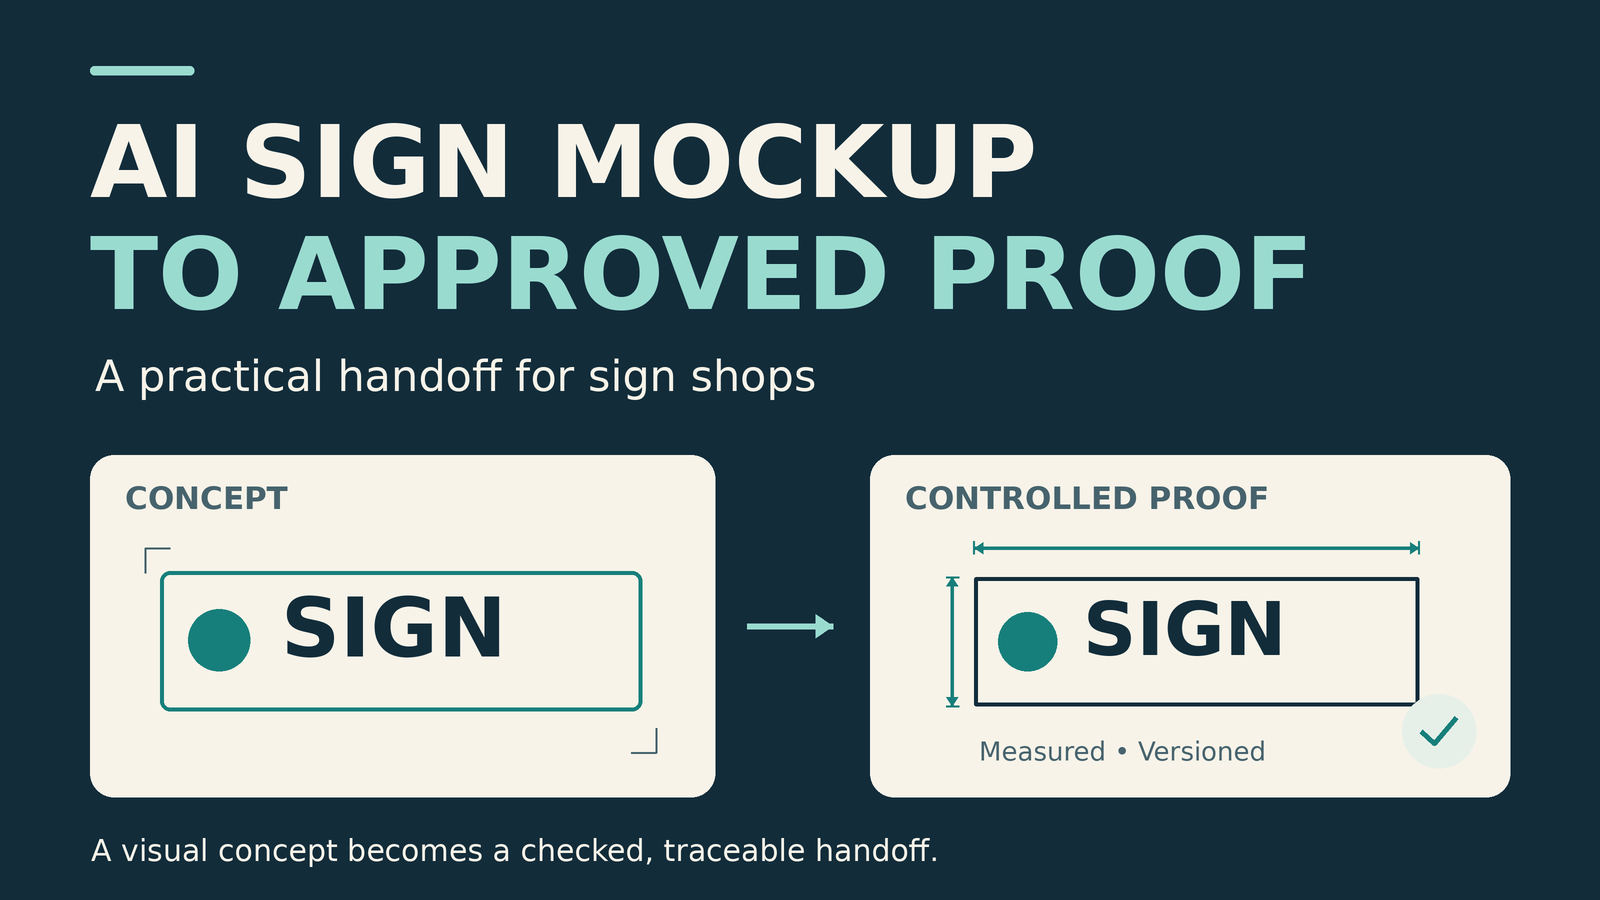
The customer-facing proof should show the visible design, finished size and conspicuous finishing features that affect appearance or fit. The production sheet can carry more detail: material, finishing method, reference edges, allowances, hardware pattern and handling notes. Keep the two documents connected by a shared revision number.
Include a small legend stating that technical lines are proof annotations and must not print unless they are intentionally part of the job. Keep those annotations out of the production artwork or manage them using the shop’s established nonprinting-layer workflow. A dashed fold line accidentally printed across a finished banner is an avoidable handoff error.
When a customer changes from grommets to pole pockets, reopen the finishing review. Even if the wording and artwork are unchanged, the visible face, material allowance or layout may need revision. Track the approved change instead of attaching a new instruction to an old proof without updating its revision.
Check the first finished piece
For a repeat run, inspect one completed banner before finishing the entire quantity when the workflow permits. Measure the finished size, compare the attachment pattern with the proof and check that critical content remains visible. Inspect both faces and record any agreed tolerance using the supplier’s or shop’s specification.
Save that result with the job. It helps the next operator reproduce the construction and gives the estimator reliable finishing information. Our guide to quoting print jobs without losing the finishing labor explains why those steps belong in the estimate, while the print-ready artwork checklist covers the broader file review.
A good finishing proof answers the questions before the banner reaches the bench: what size leaves the shop, where each physical feature belongs, which revision is approved and what the customer will actually see.
Production references
References checked October 11, 2026. Supplier examples are not a recommendation to combine incompatible methods or a certification of installation safety.