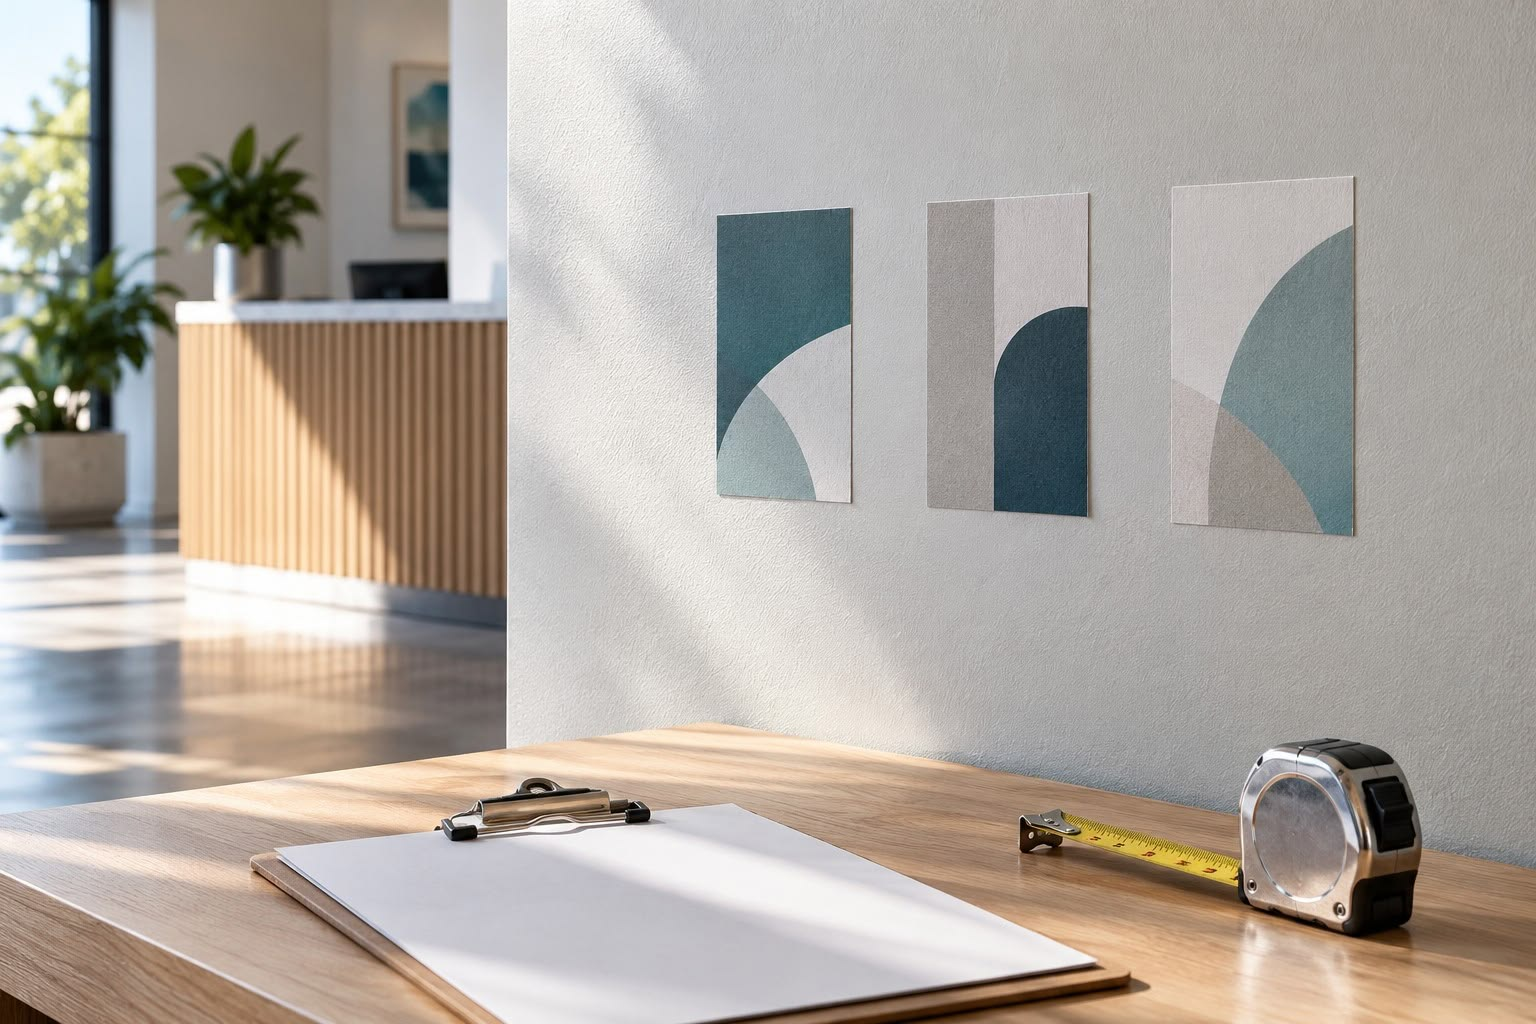
Featured image: AI-generated illustrative scene, not an actual customer installation.
A wall graphic can look perfect on a proof and still fail because nobody recorded what was underneath it. Paint that feels dry, an unknown cleaning product, a repaired patch and a different coating behind the reception desk can all change the job. The useful first deliverable is a wall survey that connects the proposed film to the actual surface.
This is a planning workflow for indoor wall graphics, informed by manufacturer guidance. It is not a product test or a promise that a particular vinyl will stick to every painted wall. Choose the installation procedure for the exact film and region before preparing or testing the surface.
Build the wall record before choosing the adhesive
Start with an annotated elevation or a straight-on photograph that the customer has approved for project use. Give each wall an identifier. Record its overall dimensions, the graphic footprint, outlets, switches, doors, corners and obstructions. Identify separate paint areas even when their colors appear identical. A patched section may have a different primer or finish from the surrounding wall.
Ask the customer or painting contractor for the paint manufacturer, product name, finish, tint, application date and available product instructions. “White paint from last month” is useful background, but it is not a material specification. Save a photograph of the can label when available. Also record whether the space is normally climate controlled and whether recent cleaning, water damage or renovation has affected the surface.
Record unknowns as unknowns. The person ordering the mural may not know who painted the wall. That is a reason to include a site assessment and test in the schedule rather than treating an unanswered field as approval.
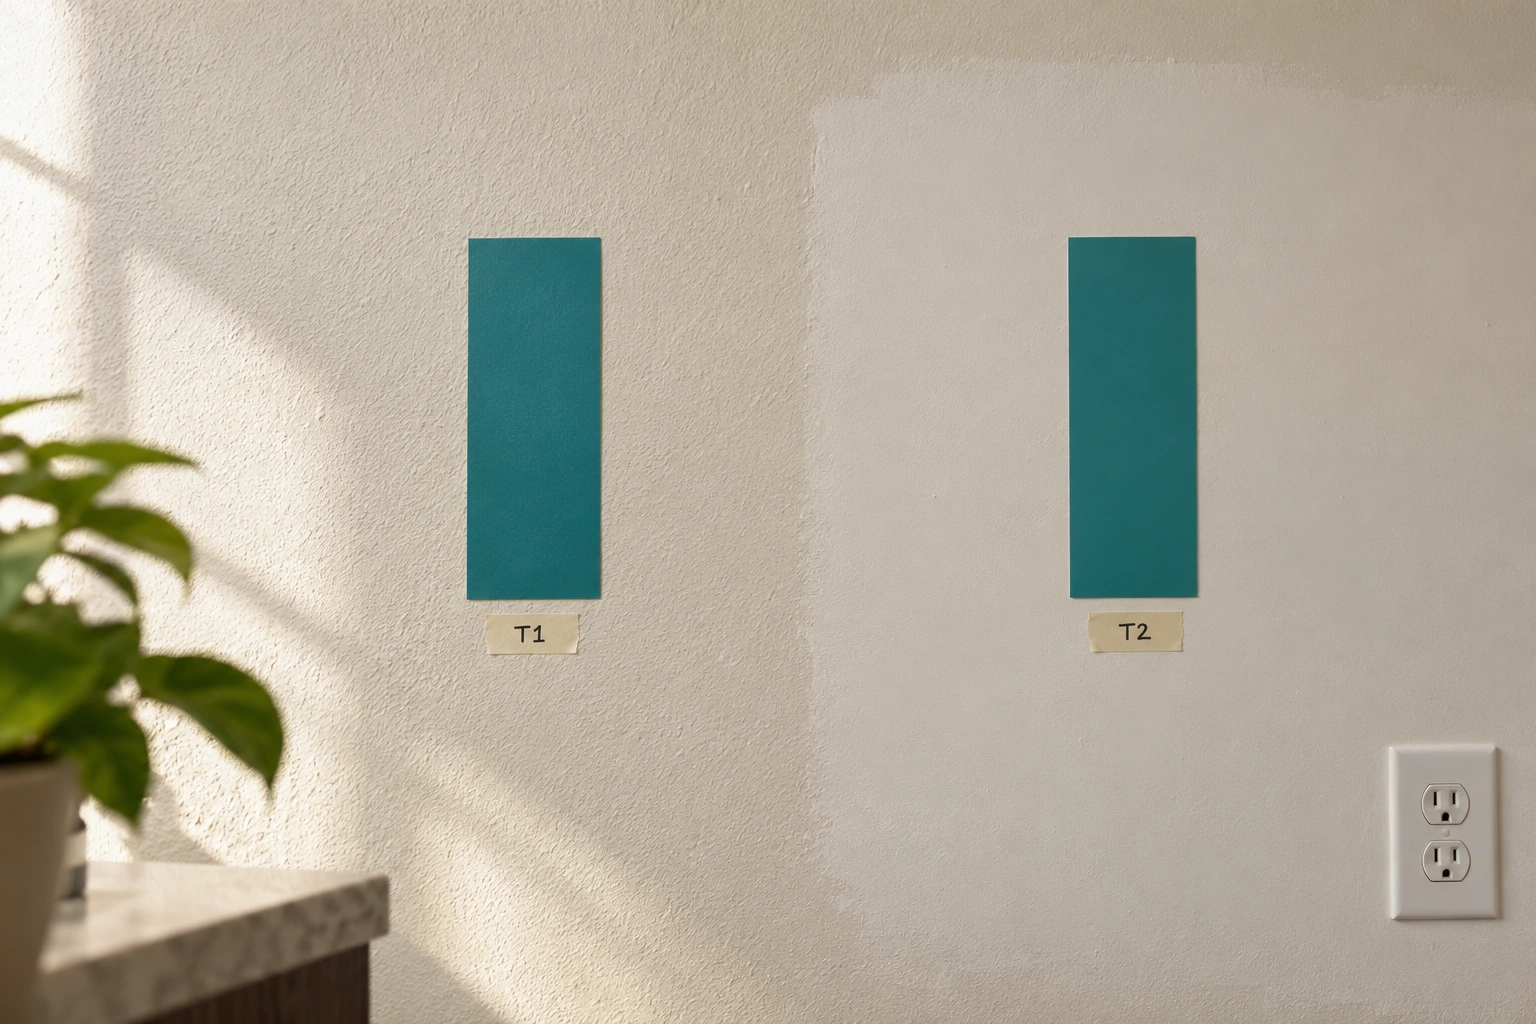
Keep paint cure and film suitability as separate decisions
A fixed waiting period is an unreliable replacement for the paint and film instructions. Avery Dennison’s regional wall-graphics bulletin calls for compatibility testing and following paint manufacturers’ drying and curing instructions. ORAFOL’s Americas guidance also addresses paint cure and warns that some modern coating formulations present adhesion challenges. Those documents have different scopes; do not combine selected numbers from them into a universal installation rule.
Ask two separate questions: has this coating cured under the actual room conditions, and is the proposed film suitable for this cured coating? A favorable answer to one does not settle the other. A strong adhesive also cannot repair a weak paint-to-wall bond. If the coating releases, the graphic may take it with it.
Use the manufacturer’s current regional instructions and technical support for the exact construction. For example, ORAFOL identifies washable, scrubbable and stain-blocking coatings as potential challenges. That is a reason to investigate the named paint, not proof that every product carrying one of those descriptions will fail.
Agree on testing and possible surface damage first
Surface preparation and removal of a sample can damage paint. Obtain the property owner’s or authorized customer’s written permission before testing. Describe where samples will go, who may remove them, and what will happen if paint lifts. A tenant’s approval may not satisfy the building owner’s requirements.
Use the manufacturer’s specified cleaning and testing procedure. Record the film product, laminate if applicable, lot or roll identification, preparation method, location, application date, room conditions and planned evaluation time. Do not substitute a quick finger-pull test for a specified method or treat one brand’s procedure as interchangeable with another’s.
Test representative locations rather than the easiest corner alone. A proposed mural spanning original paint and a repaired area needs evidence for both. If a location is inaccessible during the survey, identify it as an unresolved part of the job. Avoid promising an installation date that depends on an untested section.
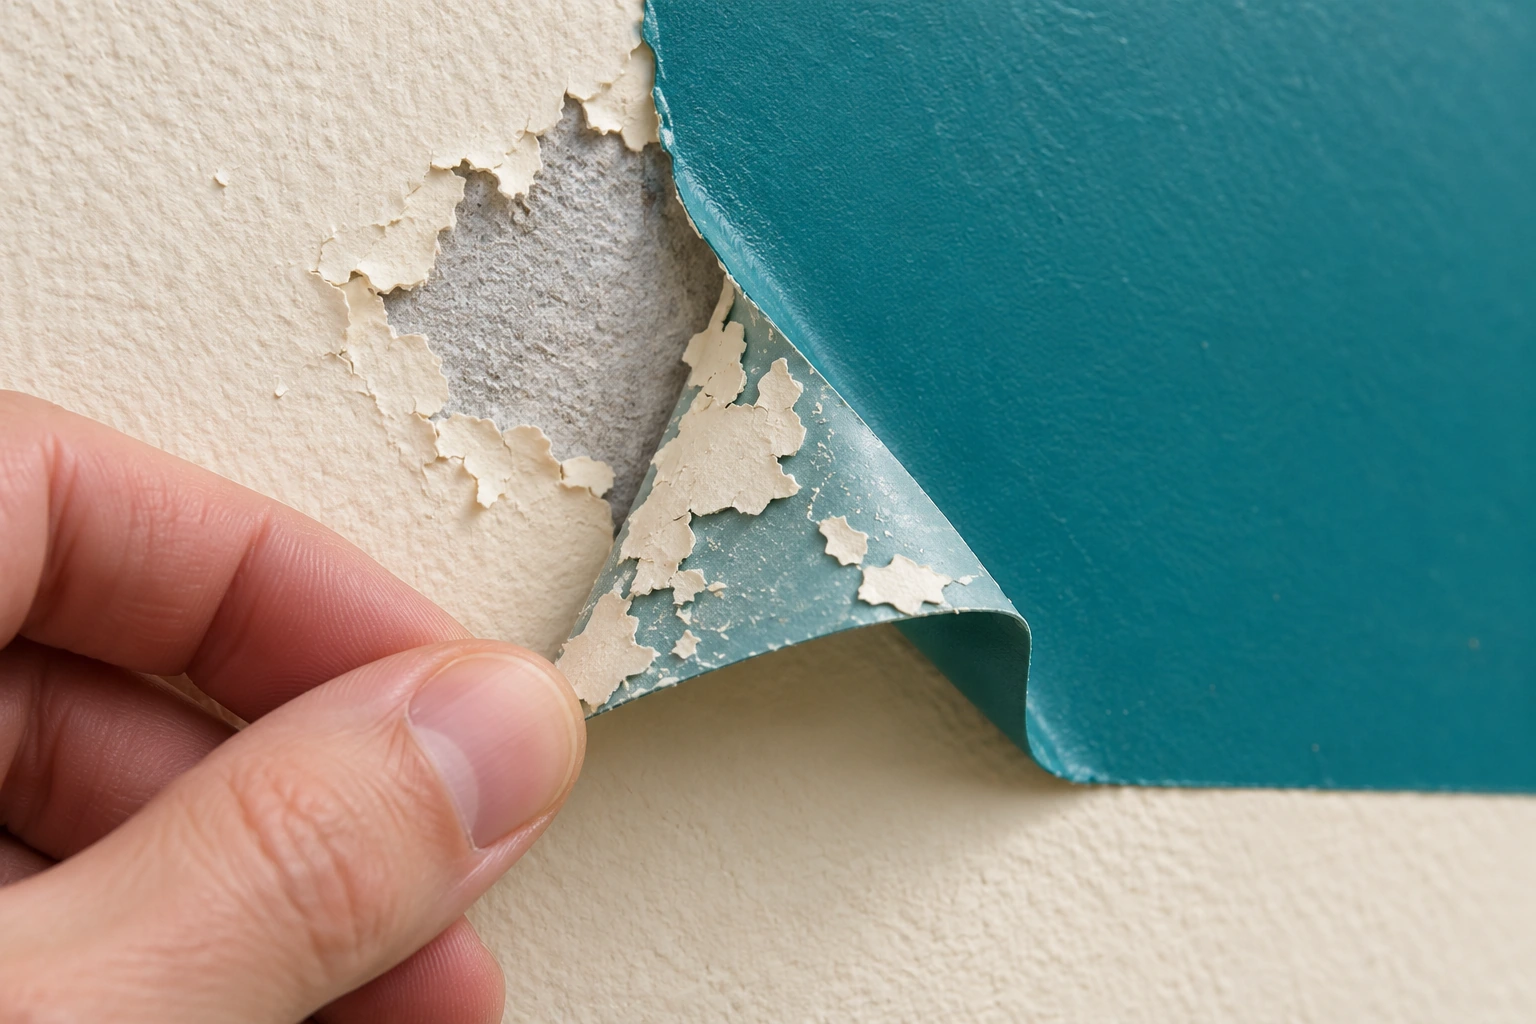
Make the test result actionable
Create three outcomes in the job record: proceed with the documented construction, investigate and retest, or pause for surface remediation. Avoid a bare “passed” checkbox that leaves the next operator guessing what was actually tested.
- Proceed: the selected combination meets the manufacturer’s evaluation criteria, the surface record is complete enough for the job, and installation conditions can be maintained.
- Investigate: a sample edge lifts, adhesion varies by area, or the preparation method is uncertain. Ask technical support about the exact combination and repeat the appropriate assessment.
- Pause: paint releases, moisture or damage remains unresolved, or the customer cannot authorize necessary preparation. Price and schedule any remediation separately.
Photograph the sample before and after evaluation where permitted. Label the photographs with the same wall and sample identifiers as the survey. A folder full of anonymous close-ups is difficult to use when the estimator, installer and customer are different people.
Put the conditions in the quote and production handoff
A useful quote states the surveyed location, specified material system, expected installation access, preparation included and assumptions that still need confirmation. Treat repainting, moving furniture, removing old graphics and correcting damaged walls as explicit scope decisions. State who is responsible for each task and what evidence is needed before production begins.
For a hypothetical reception mural, the handoff might read: “Wall R1, film and laminate as recorded on sample T2; customer-approved test completed on main coating and repaired section; final dimensions confirmed after furniture removal.” It should not claim clean removability unless the selected product and surface conditions support that expectation.
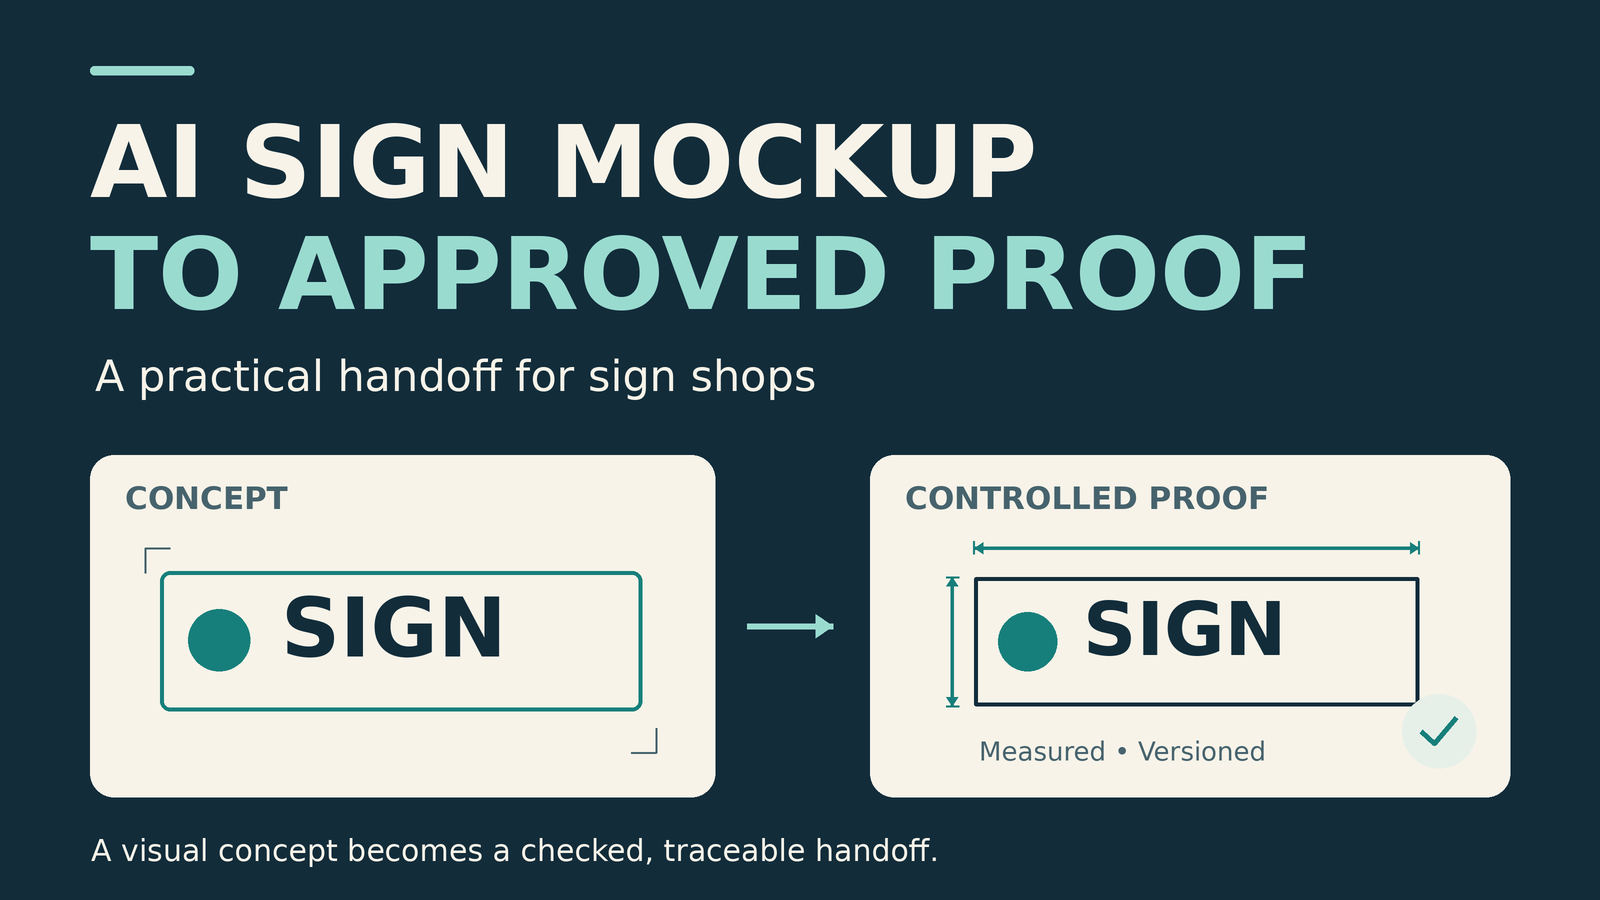
Keep the signed artwork proof and surface approval separate. The first approves layout and content; the second records the agreed installation conditions. If either changes, review the affected part of the job. A new paint coating after approval can invalidate the earlier surface assessment even when the artwork is unchanged.
Use the survey to protect the production schedule
Plan the survey, preparation, sample dwell, evaluation and any retest before setting the print release date. That sequence keeps the full-size output from becoming an expensive test sample. The same disciplined intake approach applies to our cold-weather vinyl installation checks, although indoor wall coatings require their own product-specific procedure.
Once the surface and material are approved, move into the print-ready artwork checklist. Save both records with the finished job. When a customer orders a second wall, use the first record as a starting point and survey the new surface again.
Manufacturer references
- Avery Dennison: interior wall graphics bulletin, Australia and New Zealand
- ORAFOL Americas: processing and handling interior wall graphics
- ORAFOL Americas support and wall-graphics guidance
References checked October 11, 2026. Regional documents are examples of manufacturer guidance; confirm the current instructions for the product and location of your job.